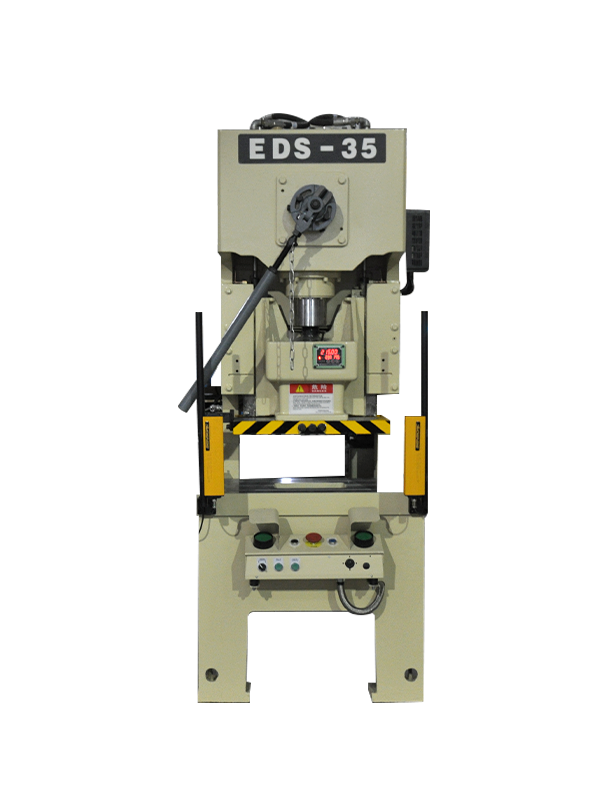
The design and application of high-speed punch molds are very critical. If the installation is not scientific, it will immediately endanger the application of high-speed punch molds and even lead to the destruction of the mold. Therefore, when installing high-speed punch molds, you must install them according to the required process video.
High-speed punch die design process
1. Analyze the manufacturability of stamping parts. According to the drawing of stamping parts, analyze its appearance, characteristics, specifications, accuracy requirements and whether commonly used materials meet the requirements of stamping process. Excellent stamping technology should ensure stable product quality, small number of procedures, low material consumption, simple mold structure, safe and convenient operation. If you find that the stamping parts are poor in manufacturability, you should work with product designers to make necessary and effective changes to the appearance, specifications, precision requirements and even the use of raw materials for stamping parts under the premise of ensuring product application requirements.
2. Determine the process plan. For a stamping part, its stamping process plan (including process characteristics, process quantity, process sequence and composition method) is likely to be several. It is necessary to analyze and compare from the aspects of quality, high efficiency, cost and safety, and then determine one A program suitable for the given production standard. When formulating a process plan, some must carry out necessary process calculations to determine the appearance and specifications of the rough embryo and its inter-process specifications. Some companies assign the two tasks (analyzing the manufacturability of stamping parts and formulating process plans) to professional craftsmen to do, but mold designers must carry out definite work before designing the mold. Only after the manufacturability and process plan of the commodity (stamping parts) have been determined can specific mold design work be carried out.

3. Select the type and structure of the die.
4. Measure the pressure of each process and determine the pressure center.
5. Determine the model of high-speed punch and the installation specifications of the mold.
6. Draw layout drawings and process drawings.
7. General drawing of drawing die (lower plan view, upper plan view and cross-sectional view, etc.).
High-speed punch die installation process
1. Before installation, make sure that the die edge is sharp, there is no curling edge on the die edge, and the die seat has no missing corners. If there is a curled edge lacking corners, please sharpen the wound first.
2. Before clamping the mold, a silicon steel sheet should be inserted between the upper mold and the upper mold to avoid damaging the wound during the whole transportation process.
3. Before the mold is installed on the punch, use oilstone to grind off the burrs on the bottom and upper sides, and use cloth tape to clean up the garbage. If there are burrs or wastes on the left and right planes of the mold, it will cause the deviation of the punching burrs.
4. Adjust the stroke arrangement of the slider to a suitable position to clamp the lower mold. Make sure that the upper plane of the mold handle or mold base closely matches the bottom edge of the slider, and the lower mold pressing plate screws are gently tightened. Then, adjust the slider upward and remove the silicon steel sheet in the middle. Loosen the screws of the lower molding plate and adjust the slider downwards until the mold base enters the cavity 3~4mm, and clamp the screws of the lower molding plate. When punching a new die, the punch must be 3~4mm into the female die, otherwise, the die seat will be rolled or the die will crack.
5. Raise the slide block to the top dead center, adjust the punching rod stop screw until it is tight and loose, and then run it for a few times to observe whether the mold and the punching press are all normal. If there are no abnormalities, you can just start production.